
QA checks
Give each repository commands that prove a change works
QA checks are commands, such as your tests, that prove a change works. When you start a session with Loop until checks pass or Plan first, QA runs every check on each try, after the agent has built and reviewed the change. A check passes when its command exits 0. If one fails, the work goes back to the agent; once all pass, a draft pull request opens.
Owners and Admins add and change QA checks. Recording checks on video needs the Verified PRs add-on, sold on the Starter, Team and Enterprise plans.
Add QA checks to a repository
Open Repository setup
In your project, choose Settings, then Repository setup, then Configure on the repository’s card.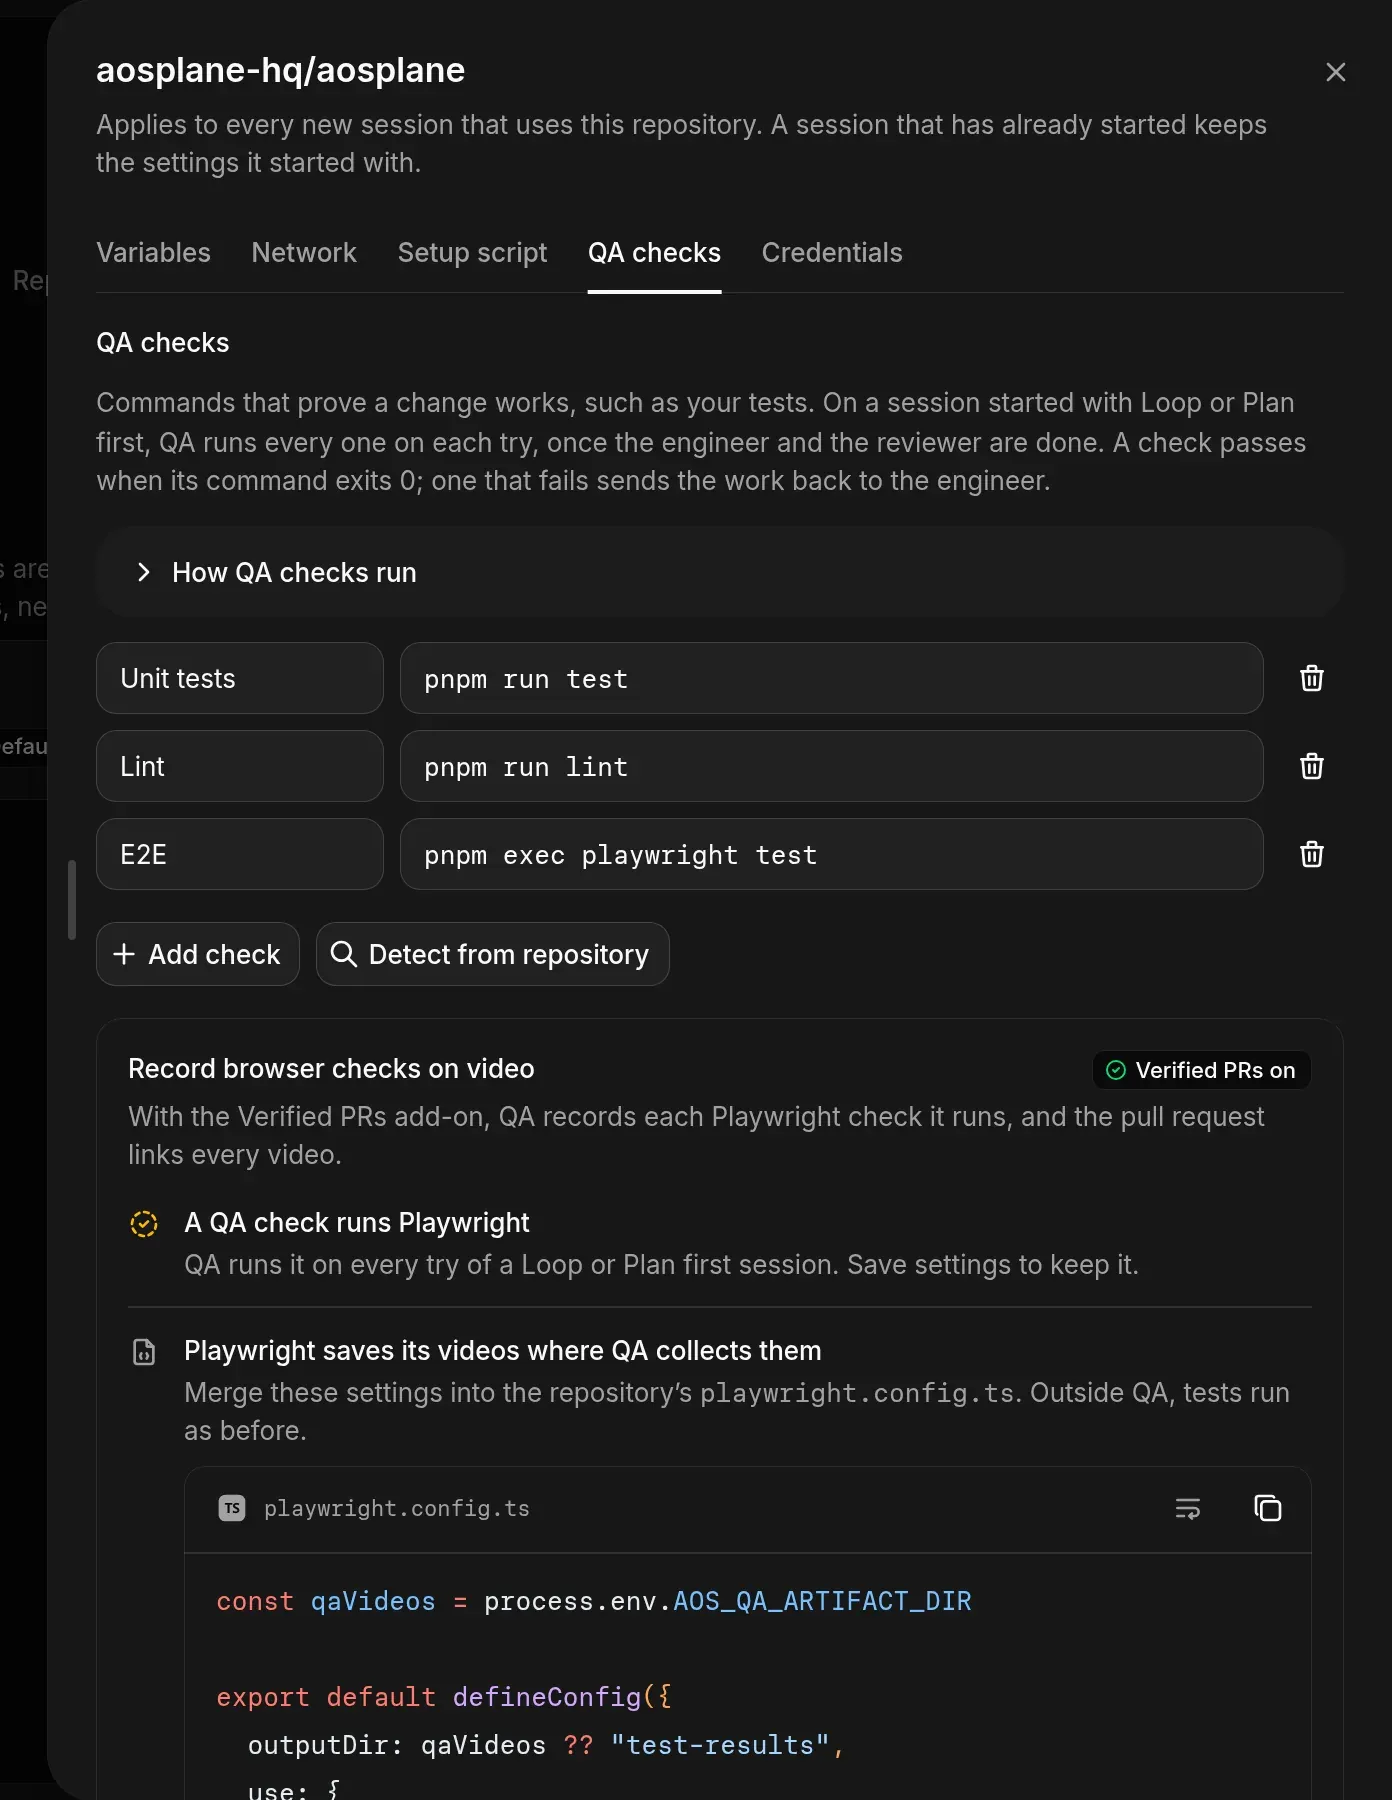
Run a session against them
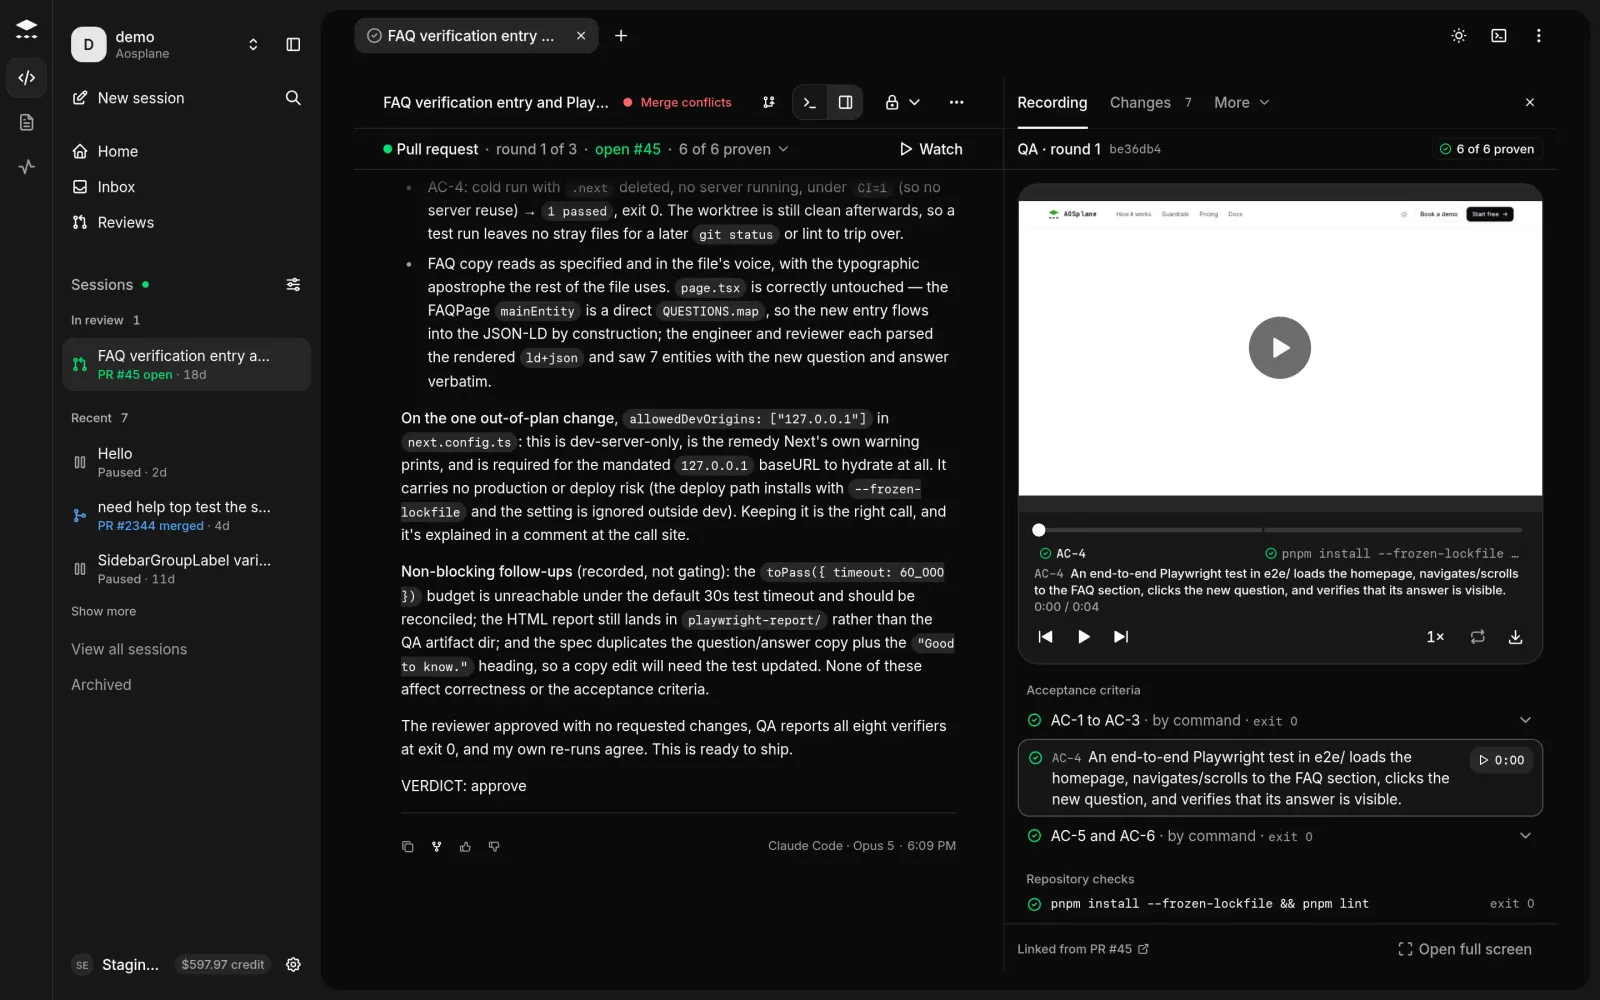
Record browser checks on video
With Verified PRs, QA records each Playwright check it runs and the pull request links every video. The Record browser checks on video card in the QA checks tab walks you through it, with a button for each step:
- A QA check runs Playwright, for example
pnpm exec playwright test. - Your
playwright.config.tssaves videos where QA collects them. Choose Copy config for the snippet. - Playwright uses the sandbox’s Chromium. Choose Add variable to add
CHROMIUM_PATH=/usr/bin/chromium. - The setup script installs Playwright’s video encoder. Choose Add to setup script to add
npx playwright install ffmpeg. - If the network is limited, choose Allow hosts so it can reach Playwright’s downloads.
Then choose Save settings. Don’t have the add-on? Choose Add Verified PRs on the card.
Good to know
- Each check runs in the repository’s folder with
bash -eo pipefail, after the setup script, with the repository’s variables and secrets. - Every check runs even after one fails, and each has its own timeout.
- A repository holds up to 20 checks. Names must be unique; a blank name uses the command.
- Detect from repository reads
package.jsonscripts,go.mod, Playwright and pytest configuration at the repository root. - A session keeps the checks it started with. Changes apply to new sessions.
- Each try is one round of build, review and QA. If the last try still fails, the session stops without a pull request.
- Plan first adds the approved Spec’s acceptance criteria to the checks. See Product manager.
- Verified PRs costs 0.10 a minute. A recorded minute is the run time of a check that saved a video, rounded up. Videos are kept for 30 days. See Billing.